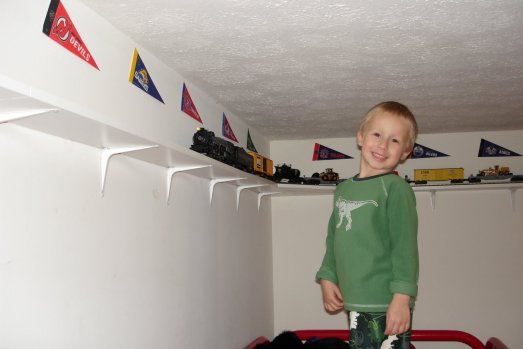
Jared showing off some test runs of the initial construction
I'm getting ahead of myself though. Let's review some construction...
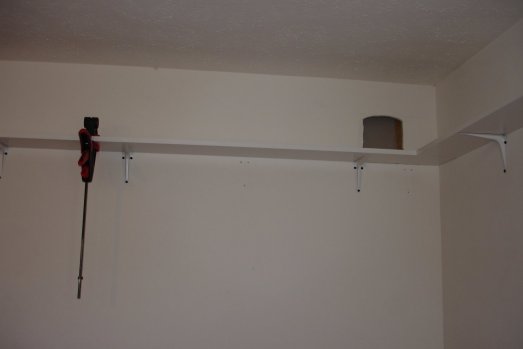
First step was setting up the brackets and shelving. Originally I had intended to have the train go into the
next room (the office) and back through tunnel portals. Sounds sweet huh? Well, stupid me, I forgot that
the office has a drop ceiling and so, um, now I have a drywall patch job to do, oh well. Anyway, at least the transformer
and transmitter control panels will be placed in the office, so I did have to make a hole (just not that big)
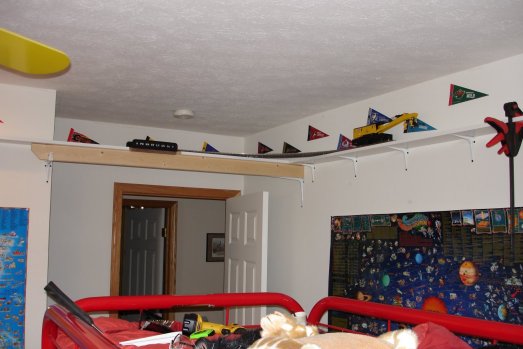
Then some planed and smoothed 2x4 action to support the three non-wall crossings. Here you see one of them
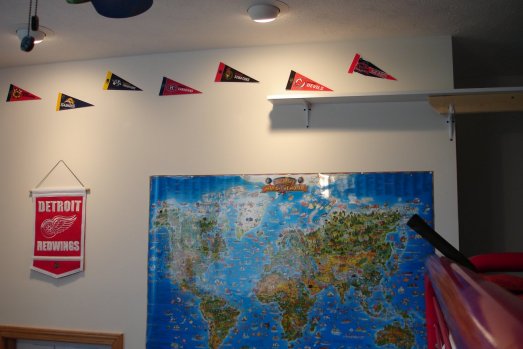
The shelving continues to creep along the wall. 12" from the ceiling was a good height for the accessories I wanted to use
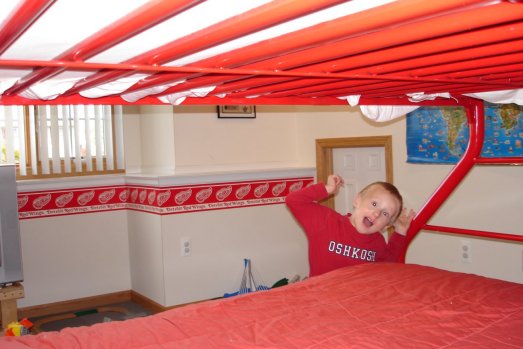
Of course, I had moral support and some crazy entertainment throughout the process
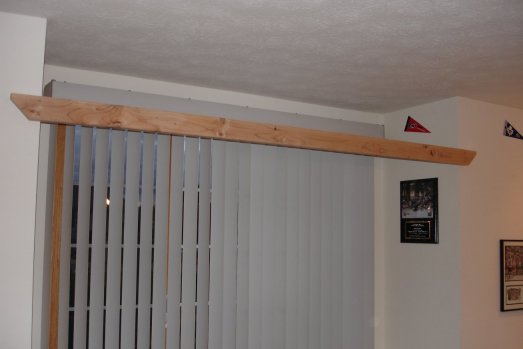
Support for what will be the main silver arch bridge
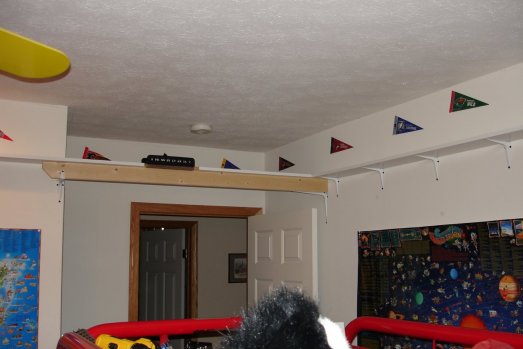
Here's a shot of the smaller, die-cast Pennsy girder bridge in place
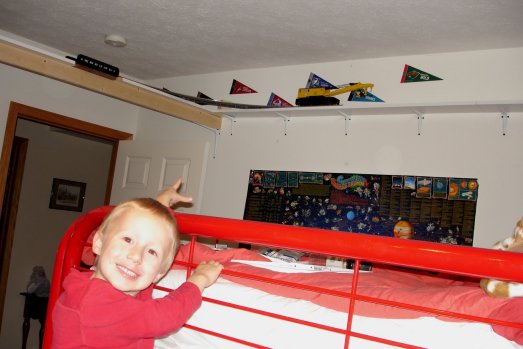
Testing out some track placement with the 54" radius curve track I'm using here. Also checking out wall
clearance using the crane car. Being the biggest car I have, if it can get through, anything can.
The track I'm using is MTH RealTrax. It's pretty good for the price, and although I've had some issues with
some of the welds on some pieces, it's pretty sturdy. I'm using 54" radius all around the layout. Most of the
engines and cars I have will run on 31" radius just fine, but the trains just look better easing
around the larger curves
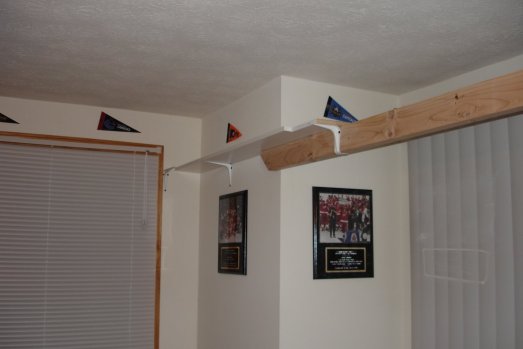
More shelving creeping along, stopping at a window in the way - ugh
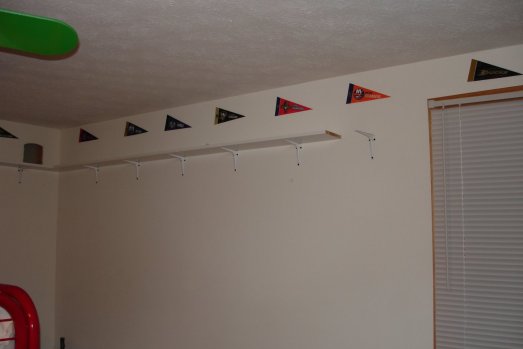
Now coming from the other direction, aaaaand there's that window again
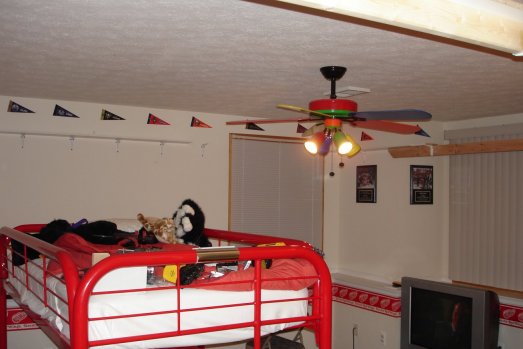
Yeah, getting around it was a slight pain
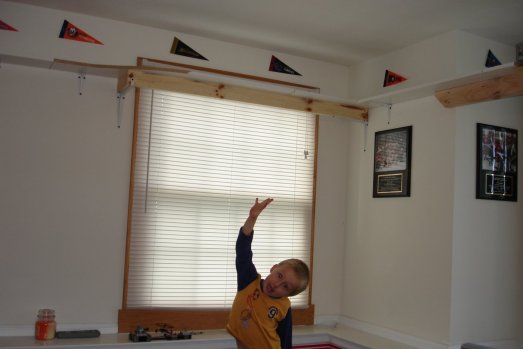
Back to the window, Jared demonstrating daddy's circumvention of the problem. This actually worked out
pretty well because if I hadn't had to jog around the window like that, the entire circuit would be
one huge rounded square of track. At least this way there's one little bit of spice in the otherwise
oval cake I'm baking here
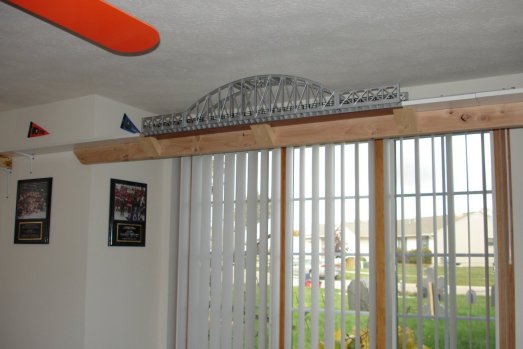
Arch bridge and side supports installed! Man I love this thing, it's even got a nice flashing red beacon light on the top.
It doesn't just blink, it has electronic controls that ever so slightly light it up and dim it down. It looks very realistic
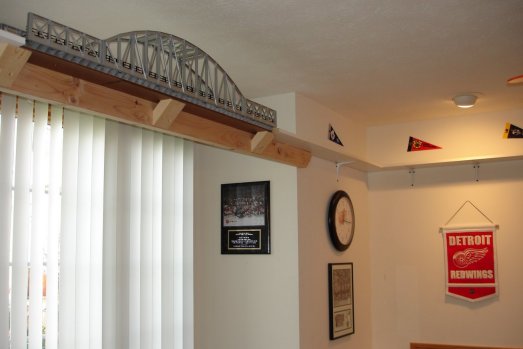
And now we have a complete shelf circuit! Time to lay down some track
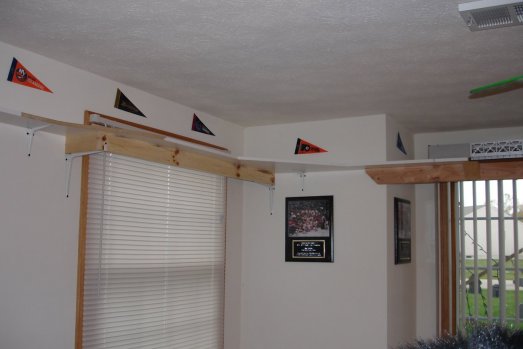
But first, let's add some corner support for the curves
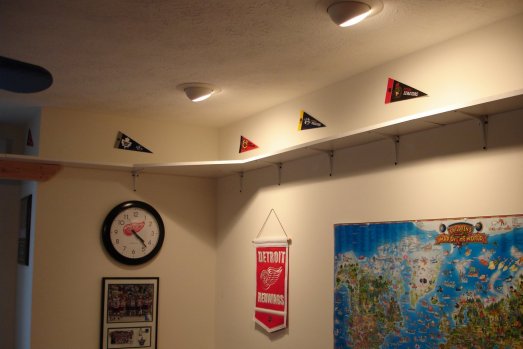
...and taking care of the rest of the corners
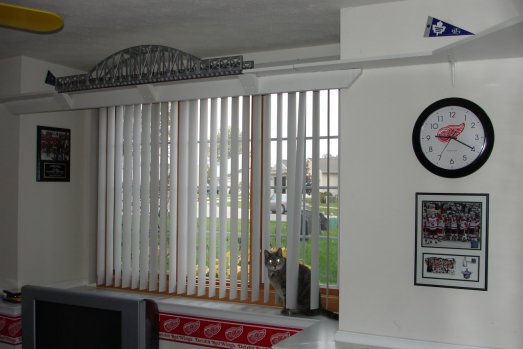
Slap on a few coats of paint and ta da!
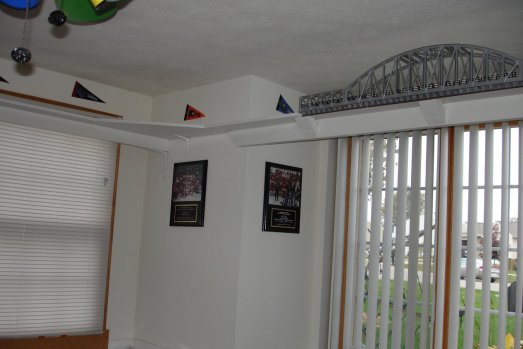
I think it turned out great, and blends into the room well
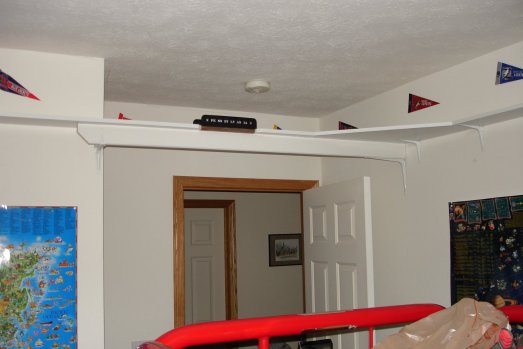
The support you see for the girder bridge is a nice piece of dark walnut.
I couldn't bring myself to paint over it
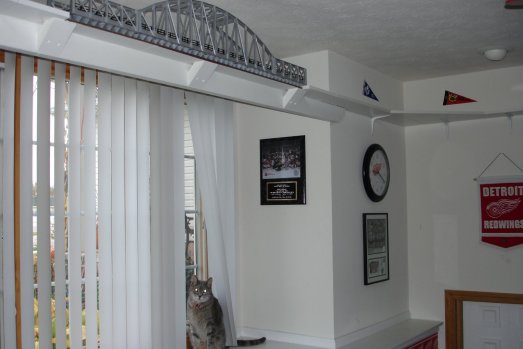
Kahlua checking out what I'm sure will eventually be a new catwalk
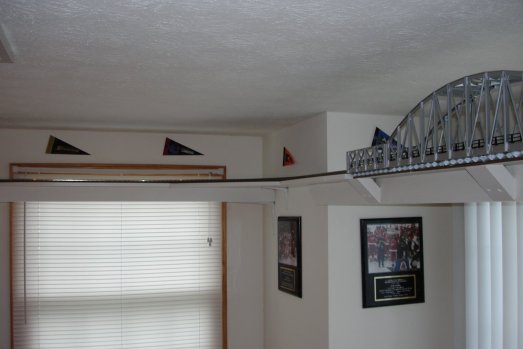
Track installed! (the shelving was the hard part, this was pretty easy)
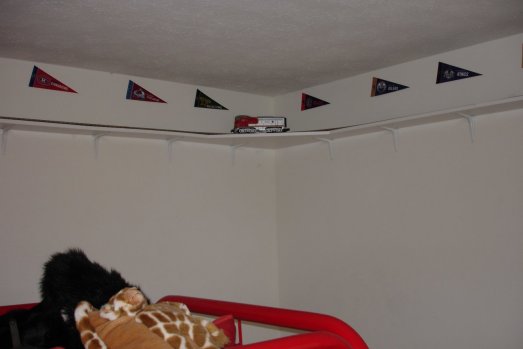
Test run! Of course, I had some dead spots to fix in the track which took over an hour to fix.
So much for being easy
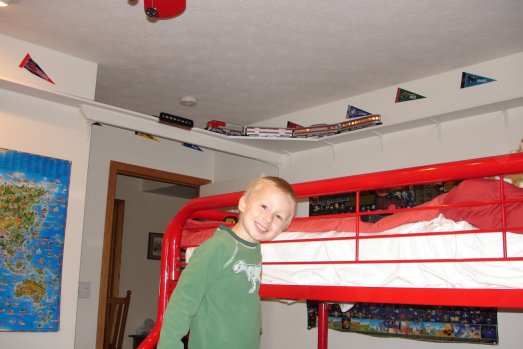
Jared enjoying the Santa Fe diesel toting some passenger cars around the track
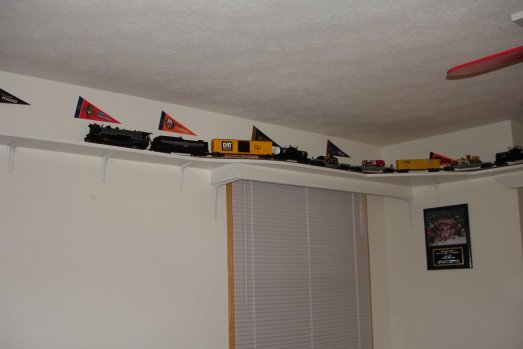
After that, time to bring on the big boy - the 4-8-2 Duluth, Missabe & Iron Range
"Mountain Class" steam locomotive
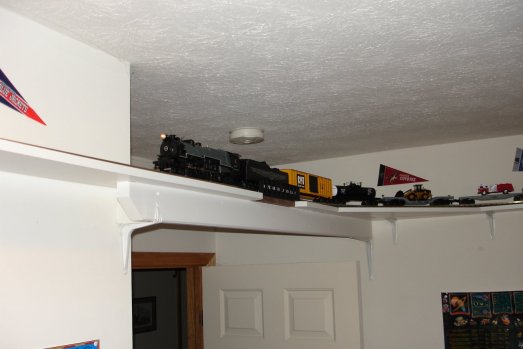
Check out the size of that tender. This engine was designed for very long-distance travel
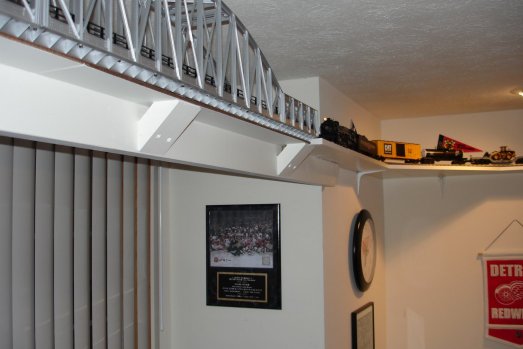
A cool shot heading into the arch bridge
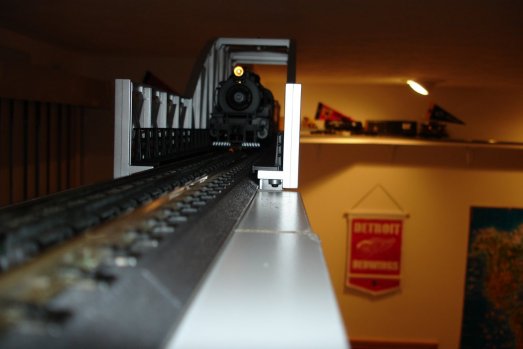
Comin' atcha now!
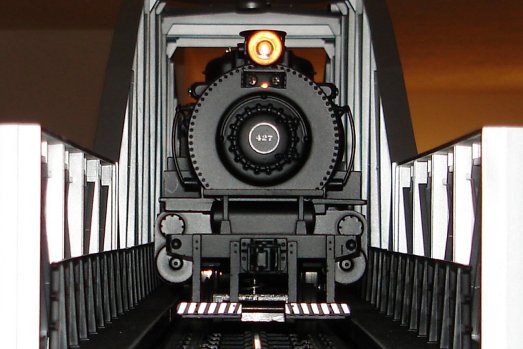
You ever see Stand by Me?
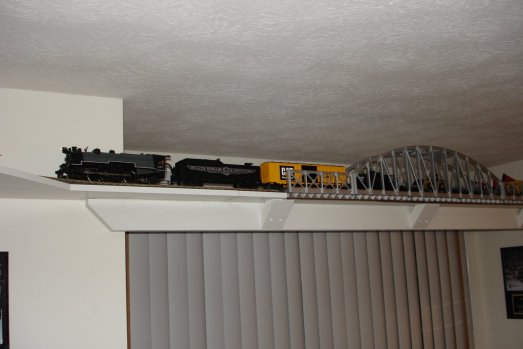
Finishing off the trek across the long bridge
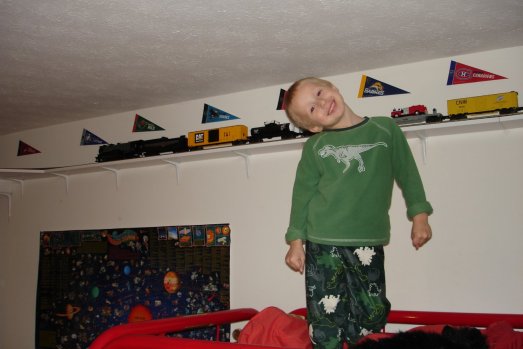
Jared appears to be pleased with the finished project, and Devin has voiced his
passive acceptance. Of course, like any layout, there's no such thing as
"finished" - lots more yet to do. I plan on adding some scenery, buildings and
all sorts of other stuff you'd see on any self-respecting model railroad. Sure my
real-estate is limited with this kind of layout, but just you wait
And yes, it's very hard to get him to not be a ham for the camera nowadays -
either that or his neck is broken, yikes!
|